Training FLUX.2 LoRAs

FLUX.2 on fal offers two powerful pathways for model customization: Text-to-Image LoRA training, which teaches the model a new style, character, product, or aesthetic; and (Multi) Image-to-Image LoRA training, which teaches the model how to transform one image into another. Both trainers are easy to use and designed to help creators and developers produce highly specialized behaviors inside FLUX.2, whether that’s a new illustration style, a character, or a domain-specific transformation.
Text-to-Image LoRAs
Step 1: Curate and Format Your Dataset
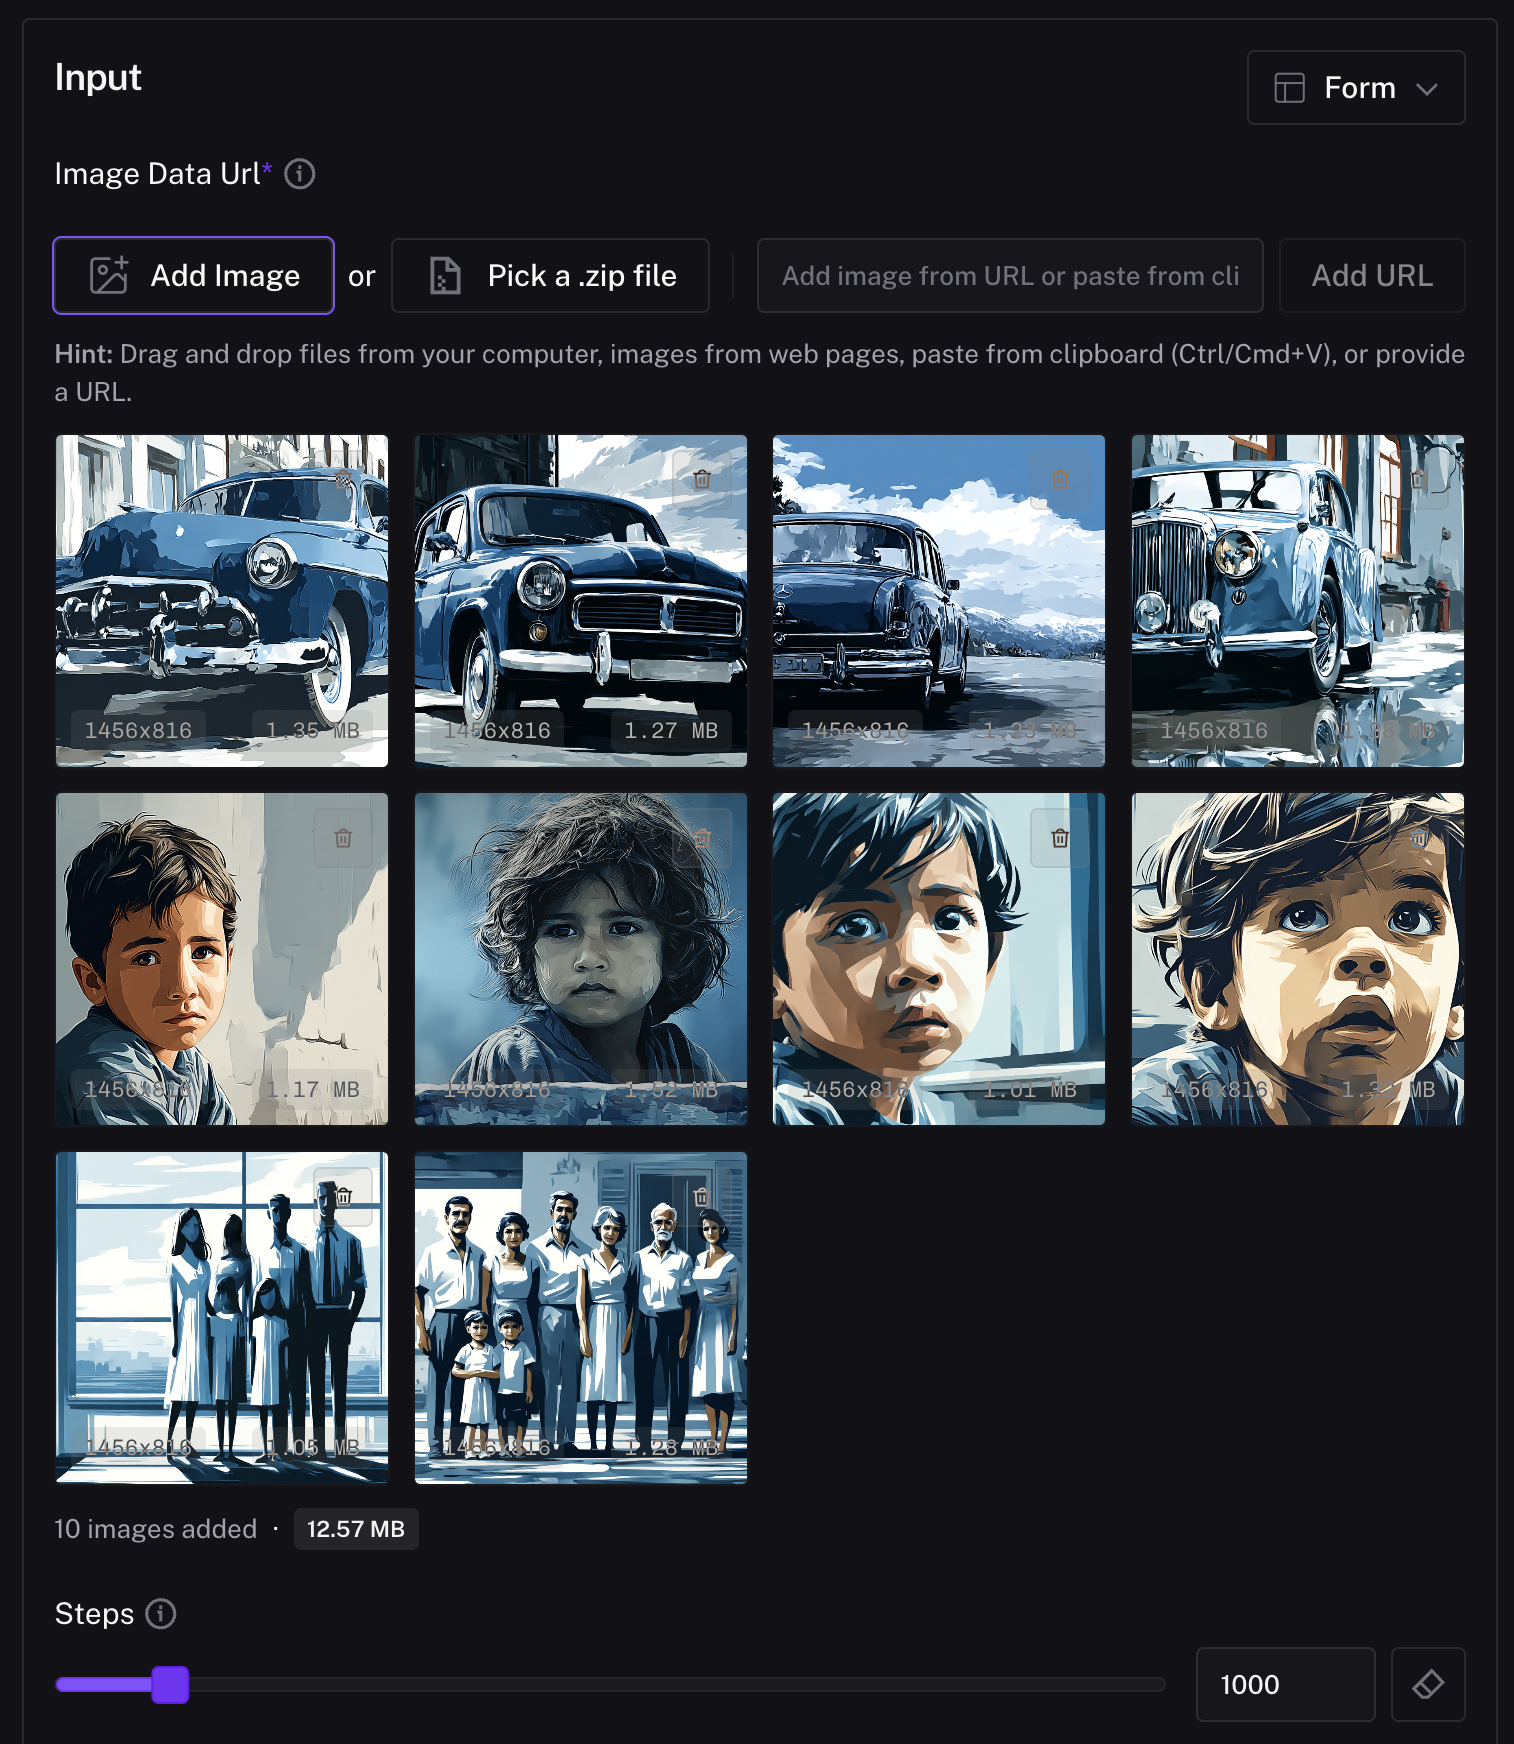
The quality and consistency of your dataset will determine how well the LoRA performs. For FLUX.2, you should gather 20 to 1,000 images that reflect the same style, subject, or identity you want to teach the model. This could be an art style (like oil painting or watercolor), a product line (a specific shoe or bottle), or even a narrative style of illustration. In our oil-painting LoRA, we collected a set of oil paintings that shared similar brush strokes, color mixing, and texture.
Once all images are collected, place them into a single .zip archive. Inside this zip, each image should have a root name, such as:
oil_01.png
oil_02.png
oil_03.png
These names don’t need to follow a strict numbering format, but consistency is helpful for managing captions.
To improve training results, you can add caption files for each image. These are simple .txt files placed next to the image file using the exact same root name:
oil_01.png
oil_01.txt
Each caption should describe the image content and include a unique trigger phrase. This trigger phrase is what the LoRA will learn to respond to during generation. For example:

If you choose not to include captions, you can use a Default Caption during training. However, caption files usually lead to far better LoRA learning retention, especially when your dataset contains a variety of subjects.
Step 2: Train your LoRA
When everything is prepared correct naming, consistent formatting, and optional captions compress the folder into a .zip file. This zip will be uploaded directly into the FLUX.2 text-to-image trainer. You can change the number of steps and learning rate but for most cases, the defaults work well. Click Run to start your training. Click Run to start your training.
Step 3: Running Inference
After you start the job, training will run automatically. Depending on the number of images and the parameters you selected, a LoRA may take anywhere from a few minutes to hours for larger datasets .
When training completes, your LoRA will appear with a “Finished” status along with a button labeled Run inference. This step is where you confirm whether the LoRA successfully learned your style or concept. Clicking Run inference automatically loads your trained LoRA into the FLUX.2 Text-to-Image inference playground so you can begin testing it immediately.
Inside the inference view, you can enter any prompt you’d like, just make sure it includes your trigger phrase. Click Run.


To test wether your LoRA learned what you intented to teach, generate using the same prompt and seed with and without the LoRA. In our case, it looks like our oil painting LoRA was successful.
(Multi) Image-to-Image LoRAs
Step 1: Curate and Format Your Dataset
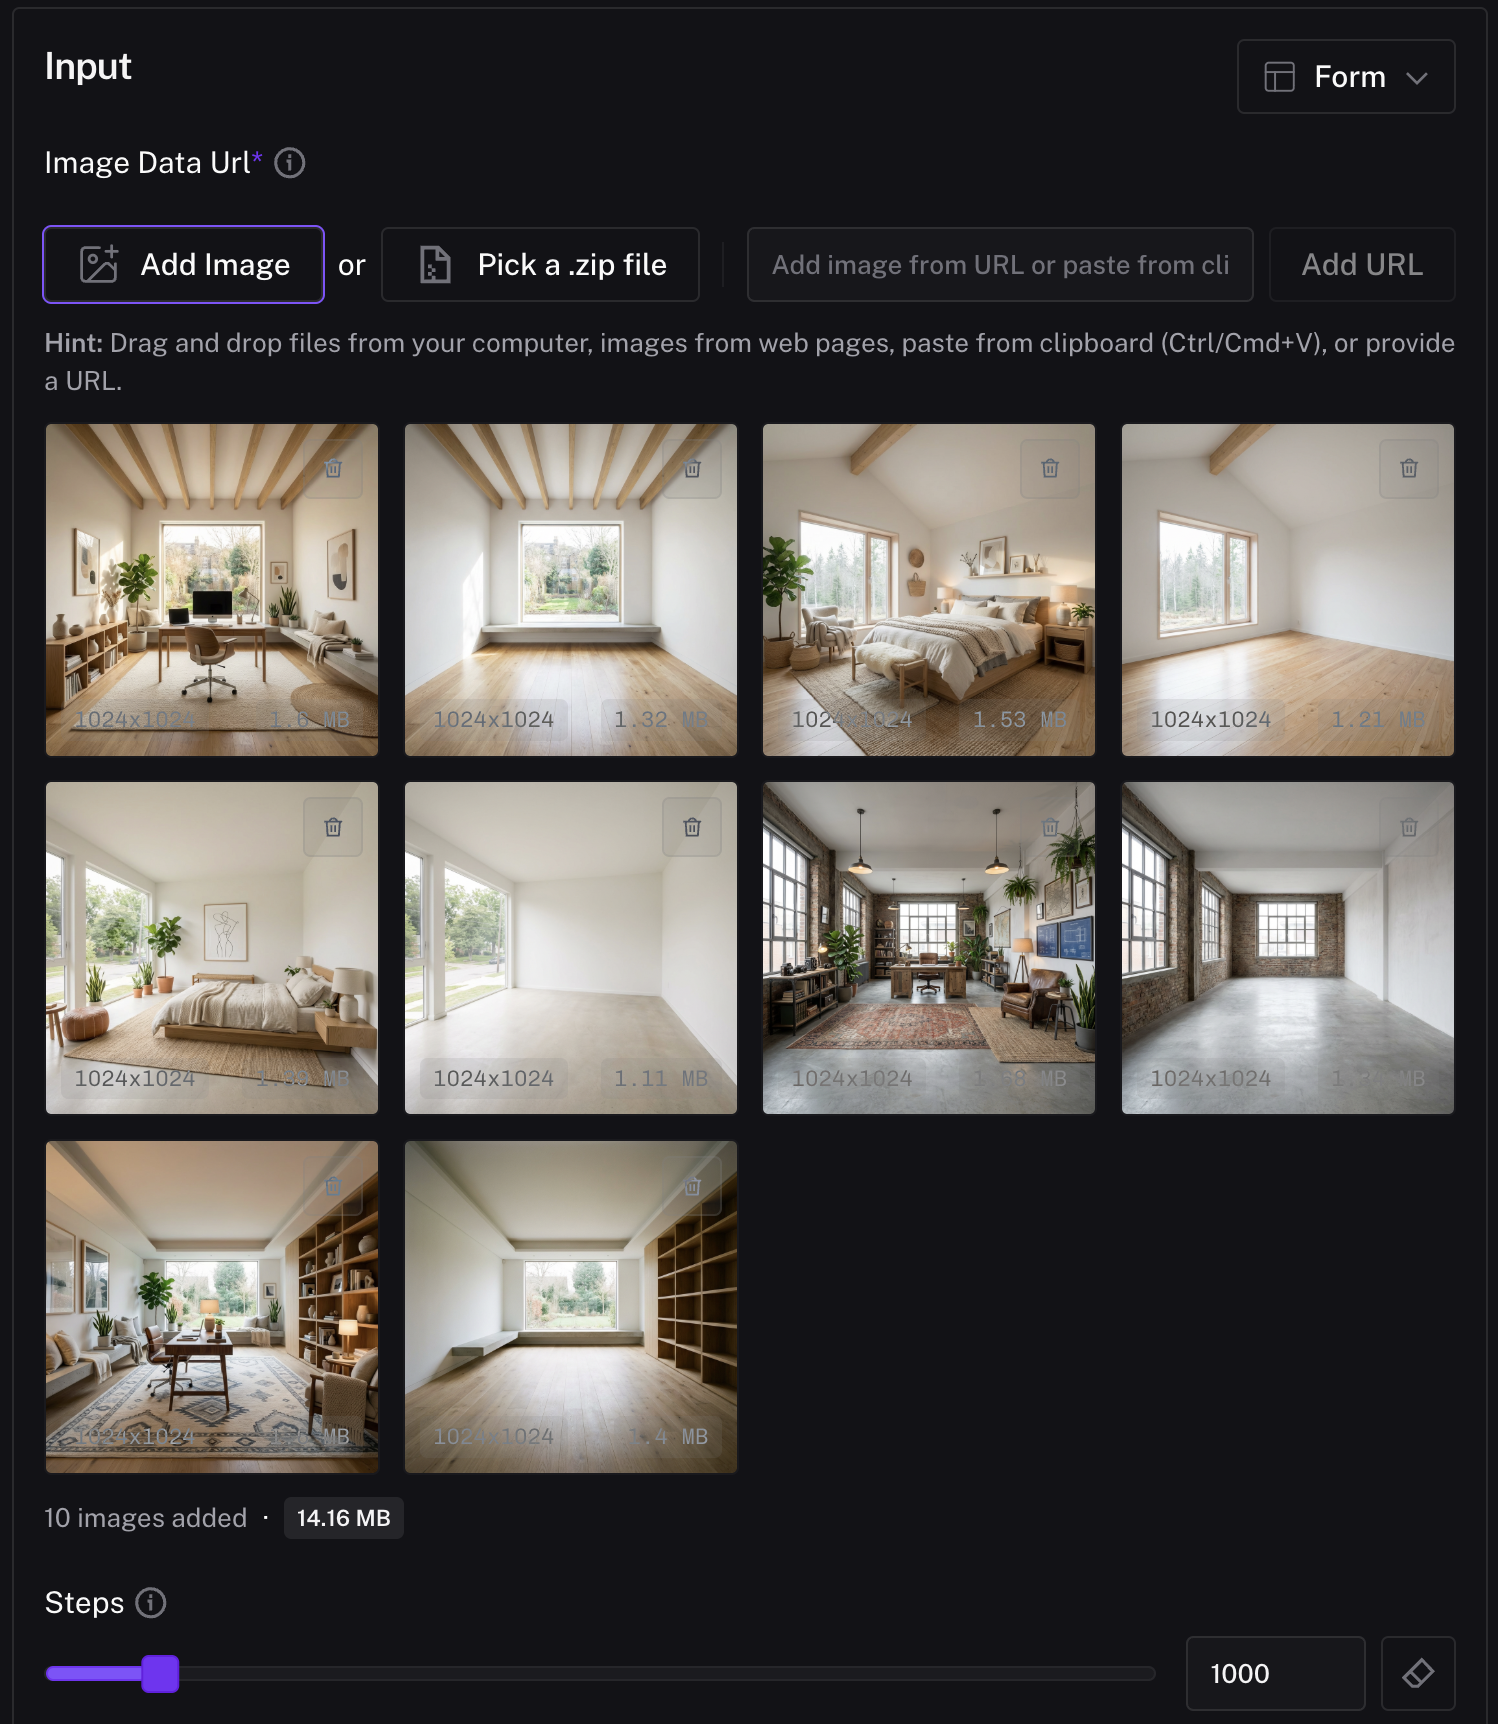
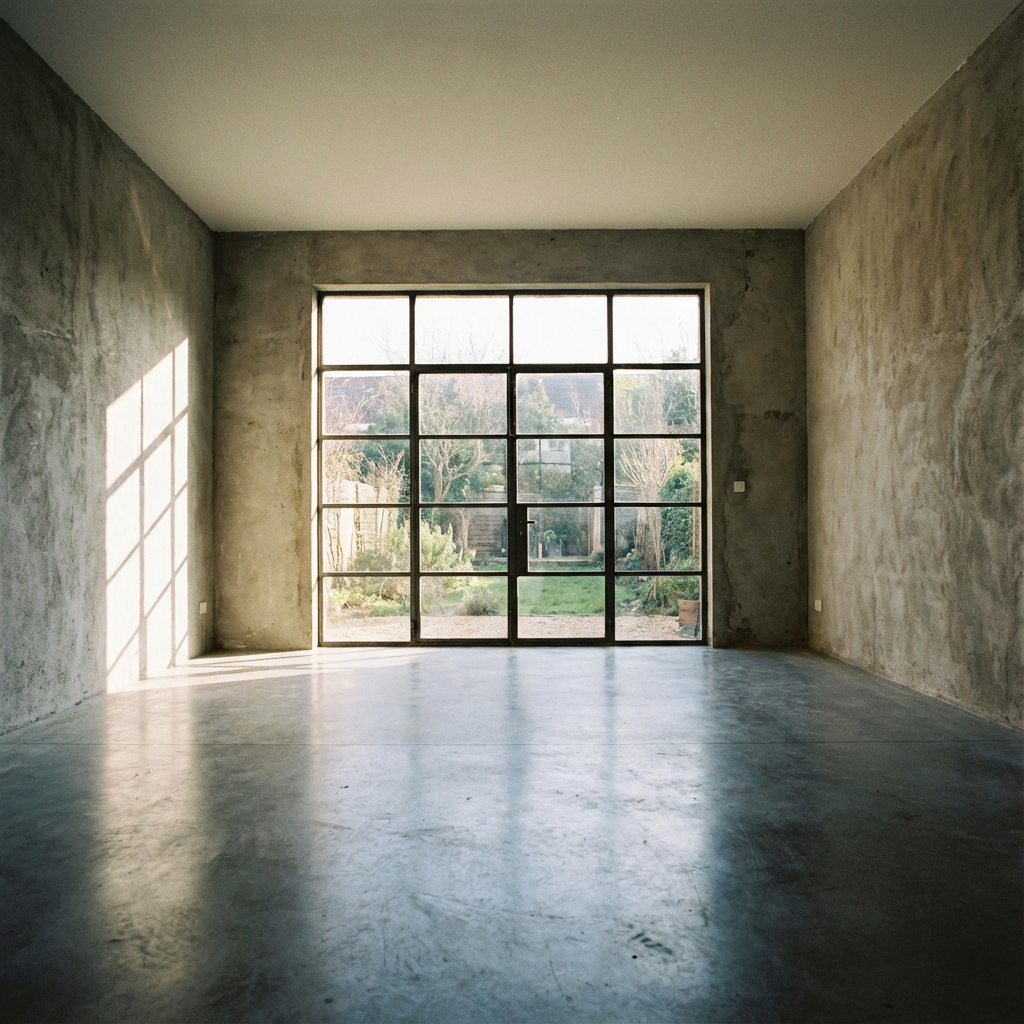
For multi image-to-image LoRAs, the dataset needs a set images. Each set contains one or multiple start images (the input) and one end image (the output the model should learn to transform into). You should aim to have at least 20 sets of data. The quality and consistency of these sets will directly affect how well your LoRA performs. In our apartment-staging LoRA example, this meant collecting sets of empty rooms as our start images, and matching staged, fully furnished versions as the end images.
All images should be placed into a single .zip archive. Inside this archive, every pair must share the same root name. For example:
01_start.png
01_end.png
This naming pattern allows the trainer to detect which images belong together. If a transformation requires multiple input images, you can include additional start images by adding numeric suffixes:
01_start.png
01_start2.png
01_start3.png
01_end.png
01.txt
In the apartment staging example,we only need one start and end image. As long as they share the root name room_01, the trainer will treat them as one sample. Just like with text-to-image LoRAs, you should include per-set caption as .txt files using the same root,This caption can describe the intended transformation:


Caption used: Furnish this bedroom
Once your naming is correct and the dataset is consistent, compress the folder into a .zip file this is what you will upload to the FLUX.2 multi image-to-image trainer.
Step 2: Train Your LoRA
With your correctly formatted .zip file ready, upload it to the FLUX.2 Edit (Image-to-Image) LoRA Trainer. The trainer will load each set according to the _start and _end naming convention. After uploading, if you haven't created .txt files with captions you can set Default Caption describing the transformation you want the LoRA to learn. You can change the number of steps and learning rate but for most cases, the defaults work well. Click Run to start your training.
Step 3: Running Inference
Once training completes, your LoRA will appear with a “Finished” status and a Run inference button. Clicking it will open the FLUX.2 Edit inference playground with your trained LoRA already loaded.
To test your LoRA, upload a new start image that was not part of the training set. In the prompt field, use the same instruction style you trained with and click Run.

LoRA Training Endpoints
- Text-to-Image: https://fal.ai/models/fal-ai/flux-2-trainer
- Image Editing: https://fal.ai/models/fal-ai/flux-2-trainer/edit
Stay tuned to our Youtube, Reddit, blog, Twitter, or Discord for the latest updates on generative media and the new model releases!